Whilst in Stratford Sam and I went to Anne Hathaways cottage during a festival and learned to make beautiful paper flowers. (See our original effort here.) We even liked our flower so much that we had to give it a proper send-off when we left Stratford. Now that we have the largest space that we’ve ever had on our own to decorate I made the executive decision that we would have more tissue paper flowers, and surprisingly Sam was completely up for it. Plus, I am always up for a good crafting project!
Tissue Paper Flowers

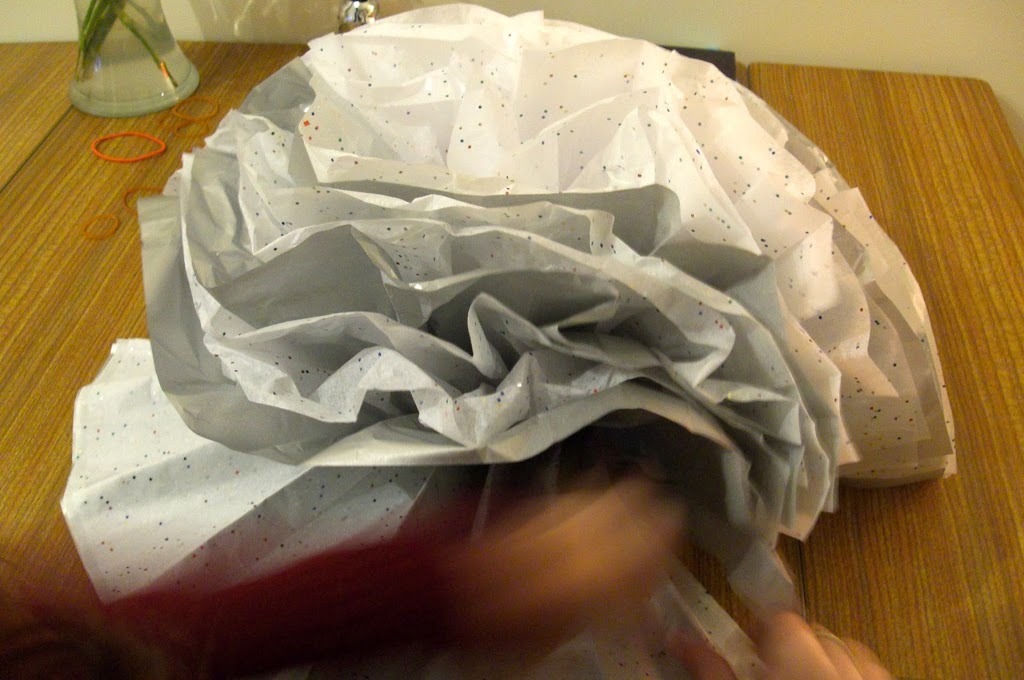
Flower fluffing in action.
What you’ll need:
Various tissue papers
Scissors
Rubberbands
String

Your needs.
The first step is to lay out the tissue paper in whatever way you desire. (Cut the sheets in half or quarters for smaller sized flowers.) Alternate the colours in whatever pattern you wish. If you’re make full-size flowers you need at least 15 sheets. (Fewer for smaller flowers.)

The folding process begins.
Once your papers are evenly stacked, fold them like you are making a paper fan.

Accordion style.
Put a rubber band in the center of your stack as pictured below. When laying out flat it should resemble a bow tie.

And now the fun begins!
Fluff a single piece of tissue paper up towards the center (the rubber band). Alternate sides as you fluff. Aka, if you’ve just moved a piece on the left towards the center, the next piece should be from the right.

Soon you will have an amazing ball of fluffiness.
Lastly, tie a piece of string through your rubber band to hang your flower up (if desired).

The fertility goddess.
Our multiple flowers piled up resemble some sort of strange fertility goddess. Weird, but I like it.

Beautiful paper.
I put my paper flower monster behind our reading armchair in the bedroom. (Also that beautiful armchair was free. The power of freecycle!)

Our reading nook, now complete with flower. You can’t tell because of the lighting but the flower is in the corner where two walls meet.